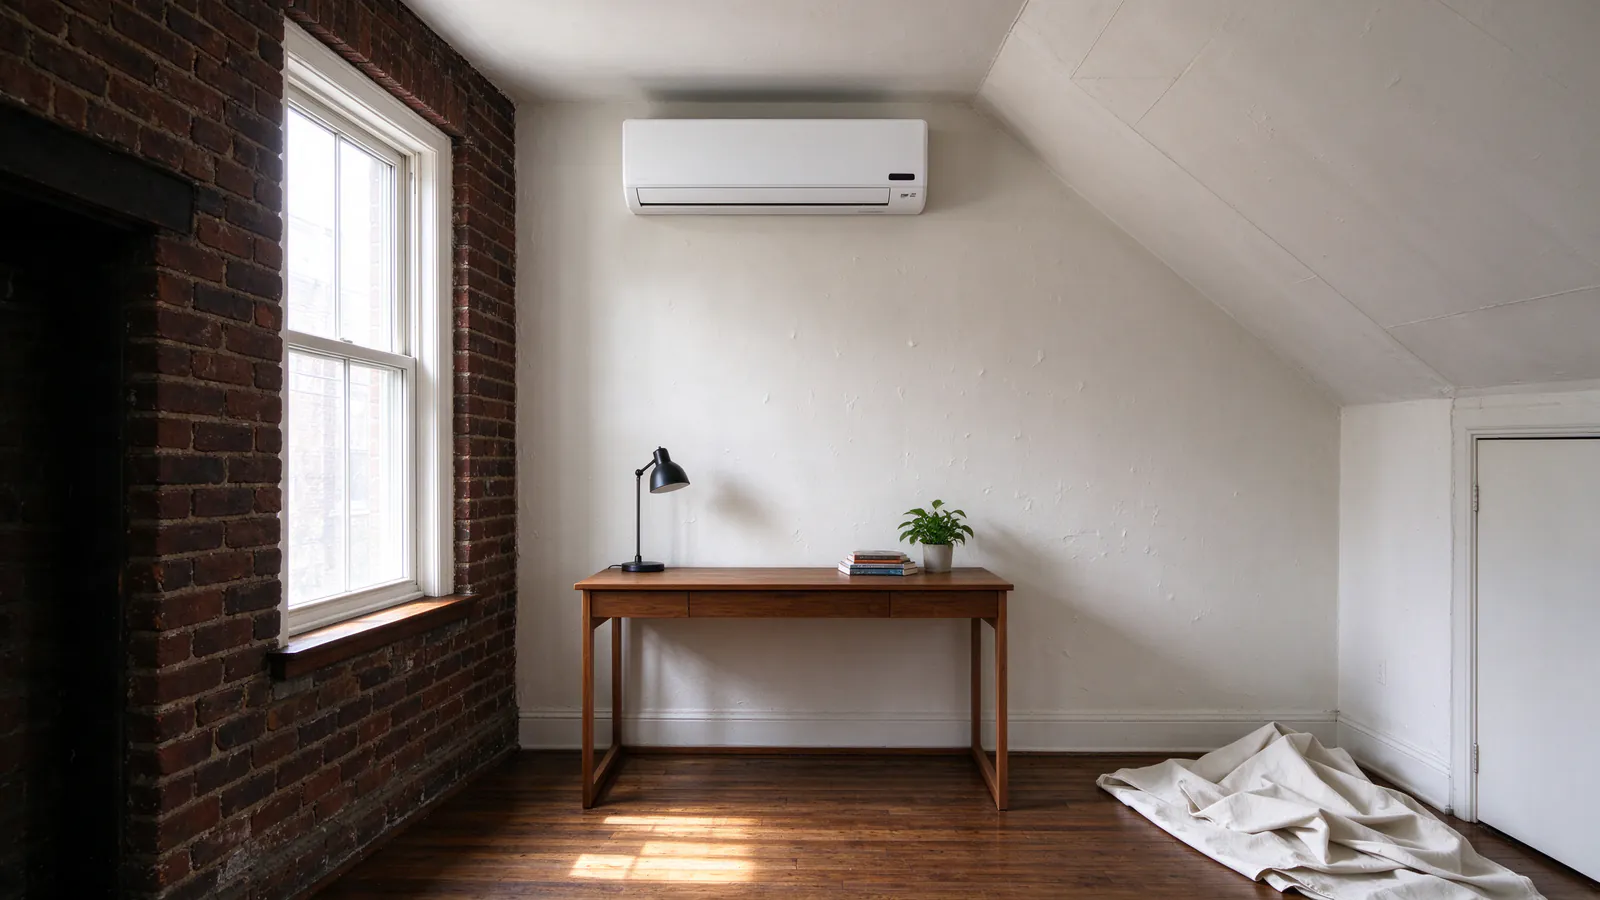
This is an illustrative walkthrough, not a specific customer’s job. It follows one typical case, a hot top-floor bedroom in a DC row house, through the four steps every Roomwise DC Mini Splits install follows, so you can see what happens and when.
The house and the problem
Picture a three-story brick row house with radiators and no ducts. The back bedroom on the top floor sits under a flat roof, and a window unit runs all night in July without ever getting the room comfortable.
The owner wants one thing: a bedroom that stays cool in summer and takes the edge off in winter, without losing the window. One room, one problem, which points to a single-zone system.
Step 1: The first call
The first call is short. We ask which room, how it’s used, how the house heats now, and whether the house is in a historic district.
That last question matters early. In a historic district, the permit includes a review of anything visible from the street, which can change where the outdoor unit goes. Outside one, the permit is simpler. We then book the home visit.
Step 2: The home visit
On the visit, we measure the room and work out four things: where the head goes, how the lines get out, where the water drains, and where the outdoor unit sits.
What gets decided in the room
- Size. The head is sized from a heat-load calculation: the room’s dimensions, the roof above, the windows and their direction. Floor area alone would oversize it. The sizing guide explains why.
- Head location. High on the back wall, an outside wall, so the lines and drain go straight through the brick behind it.
- Drain. Through the same hole, falling by gravity to the yard. No pump needed.
What gets decided outside
- Outdoor spot. A wall bracket on the rear wall below the bedroom window, since the yard is paved. The placement guide covers the clearances.
- Line cover. A short painted cover down the rear wall to the unit.
- Panel. We check the panel for room for a new circuit. In this example it has space, so no heavy-up is needed.
Step 3: The written plan and the permit
After the visit comes the written plan. It lists the equipment, the head and outdoor locations, the line route, the drain, the electrical work, and the price.
The price
For a job like this one, the price sits in Roomwise’s typical range for a standard single-zone install, $3,000 to $6,000. A historic review, a roof mount or a long run through finished rooms would move it higher. The cost guide shows how.
The permit
Once the owner signs, the DC Department of Buildings mechanical permit is filed. Every Roomwise install carries one. The permit guide covers what it involves.
Step 4: The install day
With the permit in hand, the install takes about a day. Floors are covered from the front door to the bedroom, and dust is contained at the wall.
- Mount the head plate on the back wall and core one hole through the brick behind it.
- Set the outdoor unit on its bracket and run the line set, drain and control wire between the two.
- Wire the circuit from the panel to an outdoor disconnect.
- Pressure test the lines with nitrogen to prove the flare joints hold.
- Pull a deep vacuum to clear air and moisture out of the lines.
- Release the refrigerant only after both tests pass, then start the system.
The walkthrough
At the end of the day, the owner gets a walkthrough: the remote, the modes, how to set a schedule, and how to slide out and wash the filters. The window unit comes out of the sash for good.
The rebate
Where the system qualifies, the DCSEU rebate can come off the invoice as an instant discount. Whether it does, and at what amount, depends on the equipment’s efficiency tier and on DCSEU’s current rules, which change during the program year.
For the current tiers and paperwork, read the rebates guide. For the steps of a larger job, see the installation process guide.