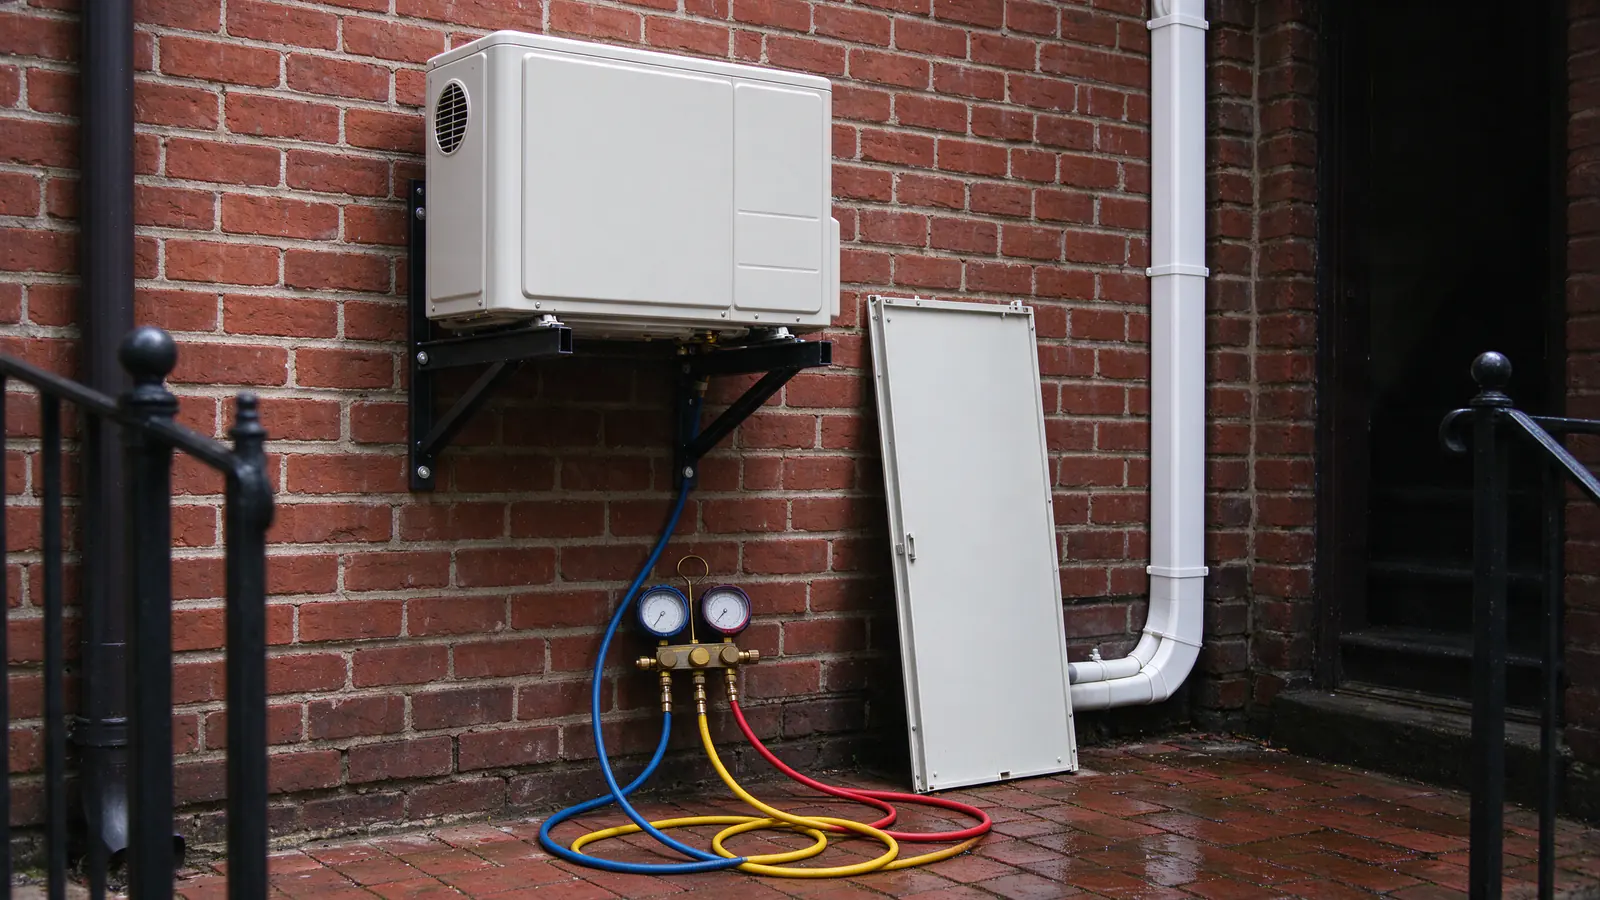
Roomwise DC Mini Splits repairs ductless mini splits across the District: heads that drip down the plaster, systems that blow air but won’t cool, outdoor units that stop with a blinking light on a cold night. We find the cause first, and a part gets replaced only once the readings point to it.
Check these before you call
A few faults turn out to be settings, filters or power. Two minutes with the remote and the filters can save you a visit.
- Mode and setpoint. In auto or dry mode the unit may not cool the way you expect. Set it to cool, a few degrees below the room.
- Filters. Lift the front panel. Clogged mesh filters cut airflow, and in cooling the coil can ice over.
- The outdoor unit. Leaves, snow or a cover blocking the coil starve it of air. Clear it.
- Power. If both units are dark, check the breaker and the disconnect box beside the outdoor unit.
- A reset. Switching off at the breaker for a few minutes clears some faults. If the same code comes back, send us the details.
Things that look like faults but aren’t
Mini splits do a few things that alarm people in their first winter. These are normal and need no repair.
- Heat stops for several minutes and the outdoor unit steams. That’s a defrost cycle melting frost off the outdoor coil.
- Water drips from the outdoor unit in cold weather. It’s the melted frost, and it needs a place to drain.
- The indoor fan slows or stops at the setpoint. Inverter units throttle down, and some stop the fan once the room is satisfied.
- A hiss or a click when the mode changes. Refrigerant shifting and valves moving.
- It runs nearly all the time. An inverter running slow and steady is doing its job.
Call if any of these comes with an error code, frost that never clears, or ice that keeps building on the outdoor unit. The winter guide explains defrost in more detail.
Common problems and what can cause them
One symptom points to a short list of causes, rarely to a single one. The diagnostic visit narrows the list with readings, not guesses.
| What you notice | What can cause it | What we check |
|---|---|---|
| Blows air, doesn’t cool | Dirty filters or coil, low charge from a leak, failed sensor, outdoor fan or compressor not running | Filters, coil, pressures and temperatures, outdoor unit |
| Not heating | Iced outdoor coil, low charge, temperature below the unit’s rating, board fault | Defrost behavior, coil, pressures, error history |
| Water running from the head | Blocked drain, failed pump, head out of level, ice melting off the coil | Drain slope, pump, level, airflow |
| Blinking lights or a code | Sensor, communication wiring, board, protection trip | Manufacturer code table, wiring, board |
| Ice on the indoor lines or coil | Low airflow, low charge | Filters, blower wheel, pressures |
| Shuts off and restarts | Oversized unit short cycling, outdoor unit overheating, power or board fault | Sizing, clearances, voltage, error history |
| Musty smell | Growth on the blower wheel or coil, standing water in the pan | Blower wheel, coil, drain pan |
Water on the wall has its own guide: mini split leaking water. A unit that short-cycles because it was oversized at install has no part to replace; the sizing guide explains why, and the answer may be a smaller head.
Refrigerant leaks
A mini split is a sealed circuit. If the charge is low, refrigerant has leaked out somewhere. We don’t top off a system without finding and fixing the leak, because the new charge would leak out the same way.
Where leaks start
- Flare joints at the head and at the outdoor unit, where a fitting wasn’t torqued right or has loosened with vibration
- Line sets that were kinked, crushed or rubbed through on a sharp edge of brick
- Coils with pinhole corrosion
How we fix one
We find it with an electronic detector, bubble solution and a nitrogen pressure test, then repair the joint or the section. Before any refrigerant goes back in, the system gets a pressure test and a deep vacuum, then the charge is weighed in to the manufacturer’s figure.
Roomwise’s typical range for finding and fixing a refrigerant leak, then recharging the system, is $300 to $1,500 and up. A leak inside a finished wall or under a buried flare costs more to reach.
What mini split repairs cost
Every repair starts with a diagnostic visit. Roomwise’s typical diagnostic visit for a mini split is $100 to $250, credited toward the repair if you approve it. You get a written repair price before any part is ordered.
| Repair | Roomwise’s typical range |
|---|---|
| Diagnostic visit | $100 to $250 |
| Clearing a blocked condensate drain | $100 to $300 |
| Replacing a condensate pump | $200 to $500 |
| Indoor or outdoor fan motor | $300 to $1,200 |
| Control board (inverter boards at the top) | $300 to $1,800 |
| Finding and fixing a leak, then recharging | $300 to $1,500 and up |
| Compressor replacement | $1,500 to $4,000 and up |
Roomwise’s typical range for a mini-split repair is $250 to $1,500. Compressor failures cost more and are priced separately.
What moves a repair price
- How the outdoor unit is reached: a ground pad, a high wall bracket or the roof
- Whether parts for your model are on hand or have to be ordered
- Where a leak sits, and how much finished wall stands between us and it
- Whether one fault caused another, such as a blocked drain that wet a board
Repair or replace?
A repair makes sense when one part failed on a system that otherwise did its job. When the compressor fails on an older unit, or the room was never comfortable, compare the repair price with a replacement before you spend.
Roomwise’s typical range for a like-for-like single-zone replacement is $4,000 to $7,500, when the line set passes its test and the circuit is sound. The replacement page explains what can be reused. Our written repair price sits next to that number, so the choice is yours with both figures in front of you.
Keeping it from happening again
Several of the faults above start as dirt: a drain slowly clogging, a filter that wasn’t washed, a coil that stopped breathing. A yearly maintenance visit catches those early.
If the trouble traces back to the original install, such as a drain without enough fall or a line set crushed behind a cabinet, the repair fixes that cause too. The condensate drain guide shows what a good drain path looks like, and our installation pages show how we plan one from the start.