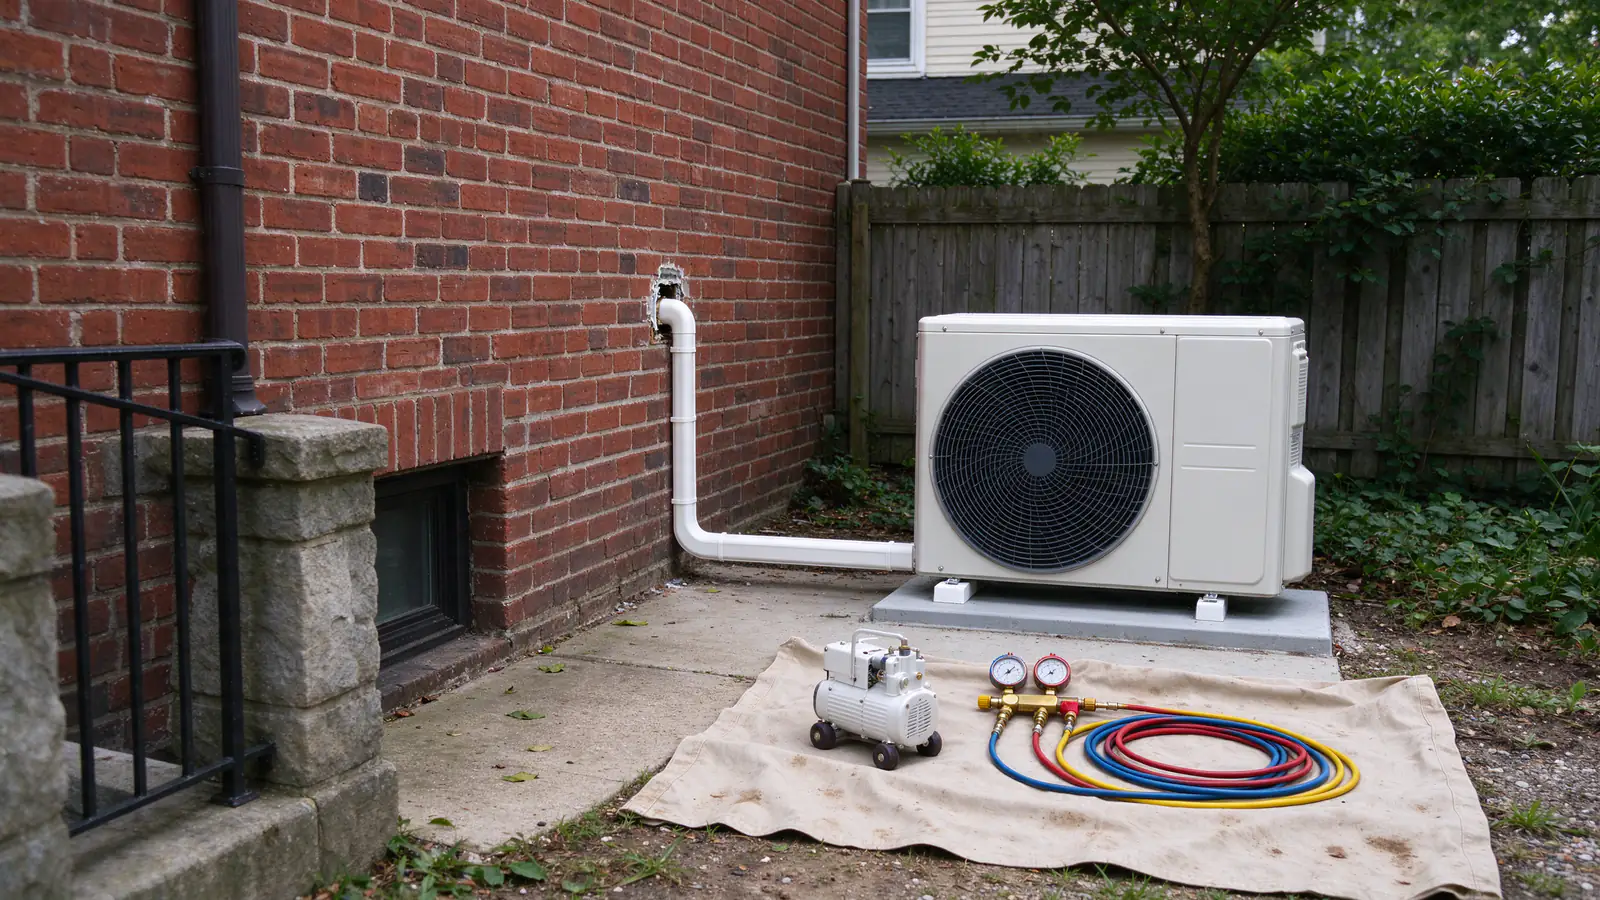
The install day is the short part. A single-zone mini split takes about a day once the permit is in hand, and the steps before it decide how smooth that day is. Roomwise DC Mini Splits follows the same four steps on every job, and this guide walks through each one.
What are the steps from first call to a running system?
Four steps, each one feeding the next. Nothing goes on the wall until the plan and the permit are settled.
- First call. You tell us which rooms are uncomfortable, when, and what heats and cools them now.
- Home visit. We measure the rooms, check the panel, and work out the line routes and the outdoor unit’s spot.
- Written plan with a price. Every head is sized from a heat-load calculation, with its line route, drain path, electrical work and the permit spelled out.
- Install. The equipment goes in, the lines are pressure-tested and vacuumed, and the system is started and walked through with you.
How long does each stage take?
The visit and the install are predictable. The permit is the stage that varies most, because it depends on the address.
| Stage | What happens | What sets the timing |
|---|---|---|
| Home visit | Rooms measured, panel checked, routes and outdoor spot chosen | The size of the house and the number of rooms |
| Written plan | Load calculation, equipment and layout, price | How many heads and options you want to compare |
| DOB permit | Mechanical permit, plus electrical if a circuit is added | Historic review adds up to five business days if a visibility check is needed |
| Install | Equipment, lines, tests, startup | About a day for a single zone; more for each extra head, floor and route |
On a historic property, preservation review sits inside the permit. The DC permit guide explains when an instant permit applies and when it doesn’t.
What happens on install day?
The work runs in a fixed order, because each step depends on the one before it. Here’s a single-zone day.
Mounting the head and opening the wall
The head’s mounting plate goes on the wall, level and anchored into studs or masonry. Then a hole about three inches across is cored through the outside wall, sloping slightly down to the outside so the drain runs out. In brick that takes a masonry core bit and more time than drywall.
Setting the outdoor unit
The outdoor unit goes on a pad, a raised stand or a wall bracket, with clearance for airflow and service. The placement guide covers the choice of spot.
Running the line set, drain and cable
Three things run together from head to outdoor unit:
- Two insulated copper refrigerant lines, one larger and one smaller
- The condensate drain, on a steady downhill slope; see the drain guide
- The communication cable, which carries power and signals from the outdoor unit to the head
Outside, they run in a line cover to the unit. The new circuit and disconnect go in at the same stage; the electrical guide covers that side.
Making the flare joints
Each copper line ends in a flare: the tube end is flared into a cone that seals against a fitting. A good flare is cut square, deburred, formed to size and tightened to the manufacturer’s torque. A poor one is the most common source of a slow refrigerant leak.
Why do the pressure test and vacuum matter?
Because they’re how you know the system is sealed and dry before the refrigerant goes in. Skipping or rushing them is how a new system ends up low on refrigerant months later.
The pressure test
The lines and indoor coil are filled with dry nitrogen at a test pressure and left to stand. A falling gauge means a leak, usually at a flare, and it’s fixed and retested before anything else happens.
The deep vacuum
A vacuum pump then pulls the nitrogen, air and moisture out. A micron gauge shows how deep the vacuum is. Once it reaches the target, the pump is isolated and the reading watched: if it holds, the system is dry and tight; if it rises, there’s moisture or a leak.
Releasing the refrigerant
Only then are the outdoor unit’s valves opened to release its factory charge into the lines. Long line runs get extra refrigerant weighed in to the manufacturer’s chart.
What happens at startup?
The system runs in cooling and heating while temperatures and pressures are checked against the manufacturer’s figures. We also pour water into each drain pan and watch it leave at the far end.
Then comes the walkthrough. We show you the remote, the modes, how the filters come out and how to rinse them, and what normal sounds and defrost look like. You keep the equipment paperwork, which also supports the DCSEU rebate.
How long does a multi-zone install take?
Longer than a single zone, and how much longer depends on the house. Each extra head adds a wall opening, a line route, a drain and its own test.
The things that stretch the schedule:
- Heads on several floors, with lines carried through closets or chases
- A roof-mounted outdoor unit
- Panel work or a heavy-up before the system can start
- Plaster and brick that take longer to open and close
The written plan lays out the scope for your house. See multi-zone installation and whole-house systems for what those jobs include.
How should I get the house ready?
A little preparation keeps the day moving. Most of it is clearing space where the work happens.
- Move furniture and pictures away from the wall where the head goes.
- Clear a path to the electrical panel.
- Make room outside where the outdoor unit and lines will go.
- Keep pets in another room.
- Plan to be reachable for the walkthrough at the end.
Can I install a mini split myself?
DIY kits with pre-charged lines exist, but they don’t fit a DC job well. DOB issues trade permits only to a DC master licensed professional, and DCSEU’s rebate needs the DOB permit and a matching contractor on the paperwork.
Handling refrigerant also requires EPA Section 608 certification. Our single-zone installation page shows what a full install includes, and the cost guide shows what it costs.