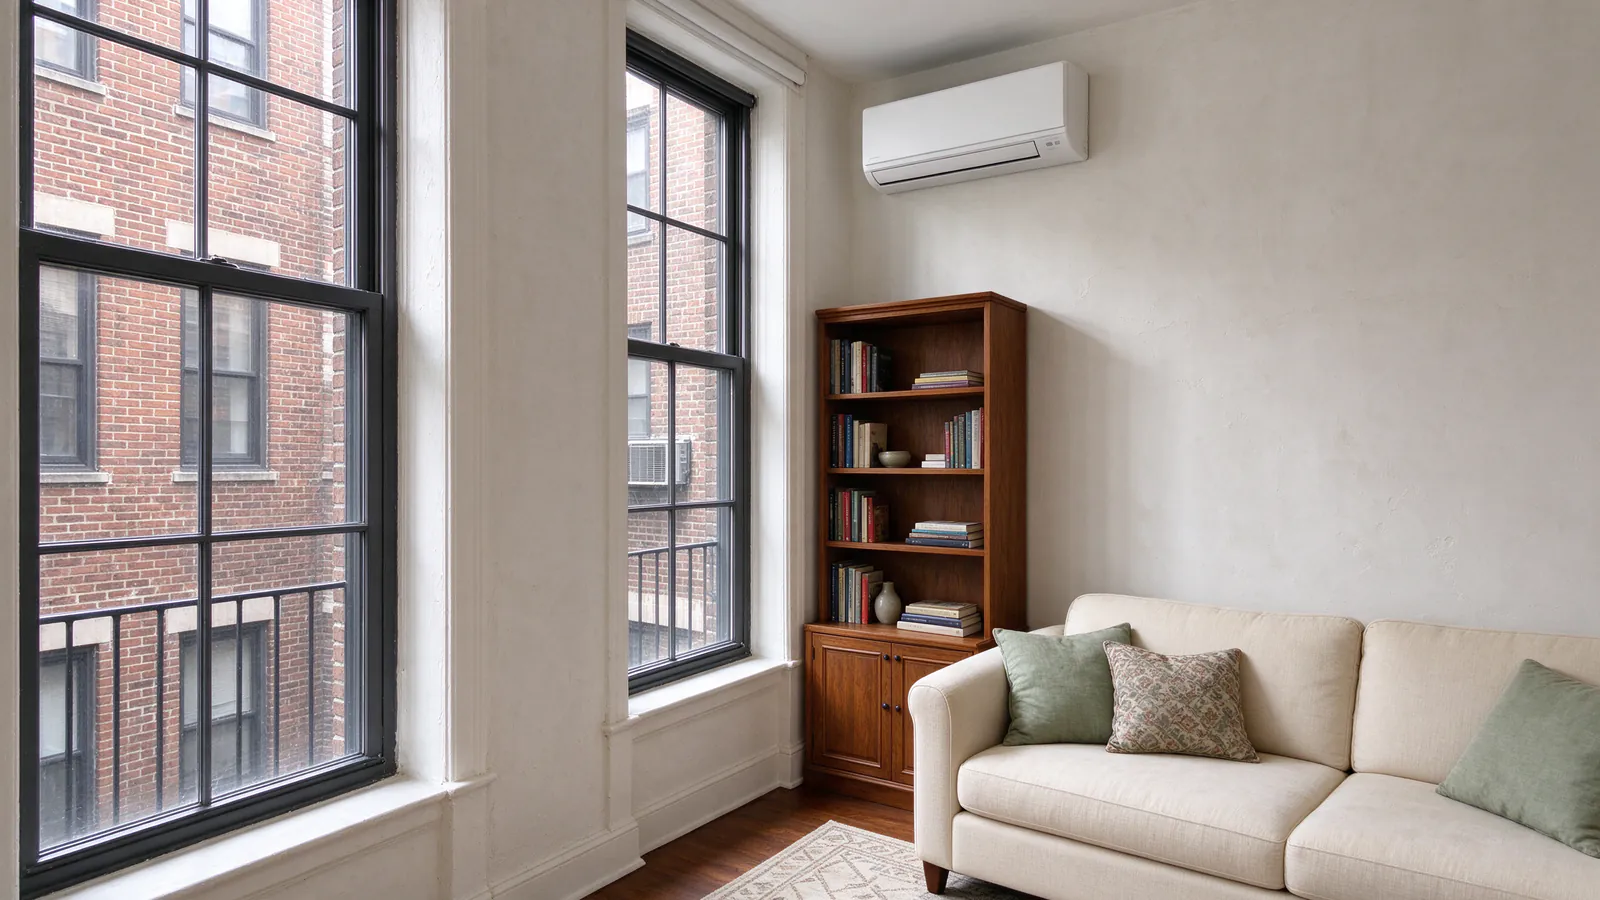
Roomwise DC Mini Splits installs mini splits in DC condos and co-ops, where the hard part is rarely the equipment. It’s the outside wall you don’t own, the roof you can’t reach without the building, and a board that has to agree before the first hole goes in.
This is the District’s ordinary case, not an edge case: more than half of DC homes sit in buildings of five or more units. A good condo job starts with the building’s rules and works back to the head, the same way a single-zone install starts with the room.
What your condo board has to agree to
You can change the inside of your unit, but not the outside of the building. DC’s Condominium Act bars any owner from changing the exterior appearance of the condominium except as its own documents allow.
A mini split touches the exterior twice: the hole through the outside wall and the outdoor unit. Both need the board’s consent, even when the head sits entirely inside your living room.
What’s yours and what’s shared
- Inside your unit: the head, its wall plate, the line set inside your walls and the remote. These are your choices, within the bylaws.
- Limited common elements: often the balcony or terrace off your unit. You use it; the association still controls what goes on it.
- Common elements: exterior walls, the roof, structural slabs, shared chases and hallways. Any hole or equipment here is the board’s call.
Your declaration and bylaws draw these lines for your building. Send them with your contact request before the visit, and we plan around what they actually say rather than a guess.
What goes in the board package
Boards ask for different things. These are the parts the written plan can answer:
- A drawing of the head location, the line route and the outdoor unit spot
- Equipment sheets with dimensions and sound ratings
- How the line set looks outside: a painted line-hide cover, its color and its path
- Where the condensate goes, and how
- The electrical load and which circuit feeds the system
- The DC mechanical permit, once it’s issued
Some boards also ask for an alterations agreement that assigns responsibility for the wall opening, any water around it and future removal. That agreement is between you and the association; we give you the technical details it needs.
Where the outdoor unit can go
The outdoor unit decides most condo jobs. It needs airflow, a solid base, somewhere for defrost water to drain and a line run within the manufacturer’s limits. In an apartment building that leaves four realistic spots.
A balcony or terrace
This is the shortest route: the line set leaves through the wall behind the head and reaches the unit in a few feet. Check the board’s rules on balcony equipment, the clearance from the railing, and whose window sits next to it. DC caps noise from mechanical equipment at 60 dB(A), so a quiet model matters here.
The roof
A roof suits top-floor units and low-rise buildings. The run gets longer, the lines need a protected path down a chase or the rear facade, and the building controls roof access every time the unit needs service. The stand has to keep the unit off the roofing and above snow.
A bracket on a rear or courtyard wall
A bracket works for a unit on a low floor with a rear or courtyard wall outside. Higher up, installing and servicing it means a lift or rope access, and that cost repeats every time someone touches the unit.
The ground or a courtyard
This is possible for garden-level units. For anyone higher, the run up the building and the manufacturer’s line length limit usually rule it out. The placement guide compares each spot in more detail.
Inside the unit: brick, concrete and shared walls
DC’s condo stock runs from 1920s brick apartment houses with plaster walls to concrete towers in Navy Yard. What sits inside your walls decides where the line set can run and where the head can hang.
- Prewar brick and plaster. Thick masonry outside walls take a core drill, and rushed holes crack the plaster around them. We pick head spots on an outside wall so the run through it stays short.
- Concrete buildings. Slabs and some walls carry steel reinforcing, and the building may require a scan before any core. Routes stay in walls, closets or a soffit the board approves.
- Walls shared with a neighbor. A line set doesn’t belong in a rated wall between two units without the board’s sign-off.
Condensate matters more in a condo than in a house, because a drain that backs up runs into the unit below. Where the drain can’t fall to the outside, a pump lifts it, wired to an overflow switch that shuts the head down before water reaches the floor. The condensate guide covers each drain option.
Electrical service in older buildings
Each mini split needs its own circuit. In an older building, your unit’s panel may be small, and the building’s electrical service is shared by every owner.
Some older condo and co-op buildings don’t meter each unit separately. If yours doesn’t, the board has a say in any new electrical load, and that conversation belongs early in the approval, not after the equipment is ordered. Circuit and panel questions are in the electrical guide.
What a condo mini split costs
Price depends mostly on where the outdoor unit can go and how far the lines travel to reach it. A balcony unit for one room sits at the low end; a roof unit for several rooms on a top floor does not.
- Roomwise’s typical range for a standard single-zone install is $3,000 to $6,000: one room, a short run to a balcony or a low wall, and panel space for the circuit.
- Roomwise’s typical range for a standard multi-zone install is $5,000 to $14,000, for two to four rooms on one outdoor unit with a straightforward route.
- Roomwise’s typical range for a complex single-zone job is $11,000 to $28,500, where the unit goes on the roof, the run is long, or historic review adds steps.
If your building charges for elevator reservations or roof access, those charges are the building’s and sit outside our estimate. Your price comes from the site visit and arrives as a written estimate. The cost guide explains each driver, and the cost estimator gives a first number.
Permits and rebates for condo owners
Every install we do gets a DC Department of Buildings mechanical permit. DCSEU’s residential rebate form lists individual condo and co-op owners as eligible, and the rebate needs that permit.
If your unit heats with electricity now, the electric-to-electric amount applies: $1,000 for ENERGY STAR certified equipment and $1,500 for ENERGY STAR Most Efficient. Replacing gas heat pays $4,000 or $5,000. Amounts and rules change during the program year; the rebates guide has the current details.
In a historic district
On a historic property, the permit also goes through Historic Preservation Office review. In Georgetown, the Old Georgetown Board reviews most exterior work visible from a street or alley. The permit guide covers the steps.
How a condo job runs
The steps match a house install, with the board and the building added in the middle:
- First call. Which rooms, what heats and cools them now, and what your building has said about outdoor equipment.
- Home visit. Rooms measured, the panel checked, line routes and outdoor spots looked at, with building management if the roof or a common area is involved.
- Written plan and price, with the drawing and equipment sheets for your board.
- Board approval and the DC permit.
- Install. Mount the head and outdoor unit, run the lines, pressure-test with nitrogen, pull a deep vacuum, release the refrigerant, start up and walk you through the controls.
One room takes about a day once the permit is in hand; building access rules can stretch that. If your unit still runs a through-wall air conditioner, see PTAC replacement. For several rooms, a multi-zone system can run them from one outdoor unit, which matters when the board allows only one.