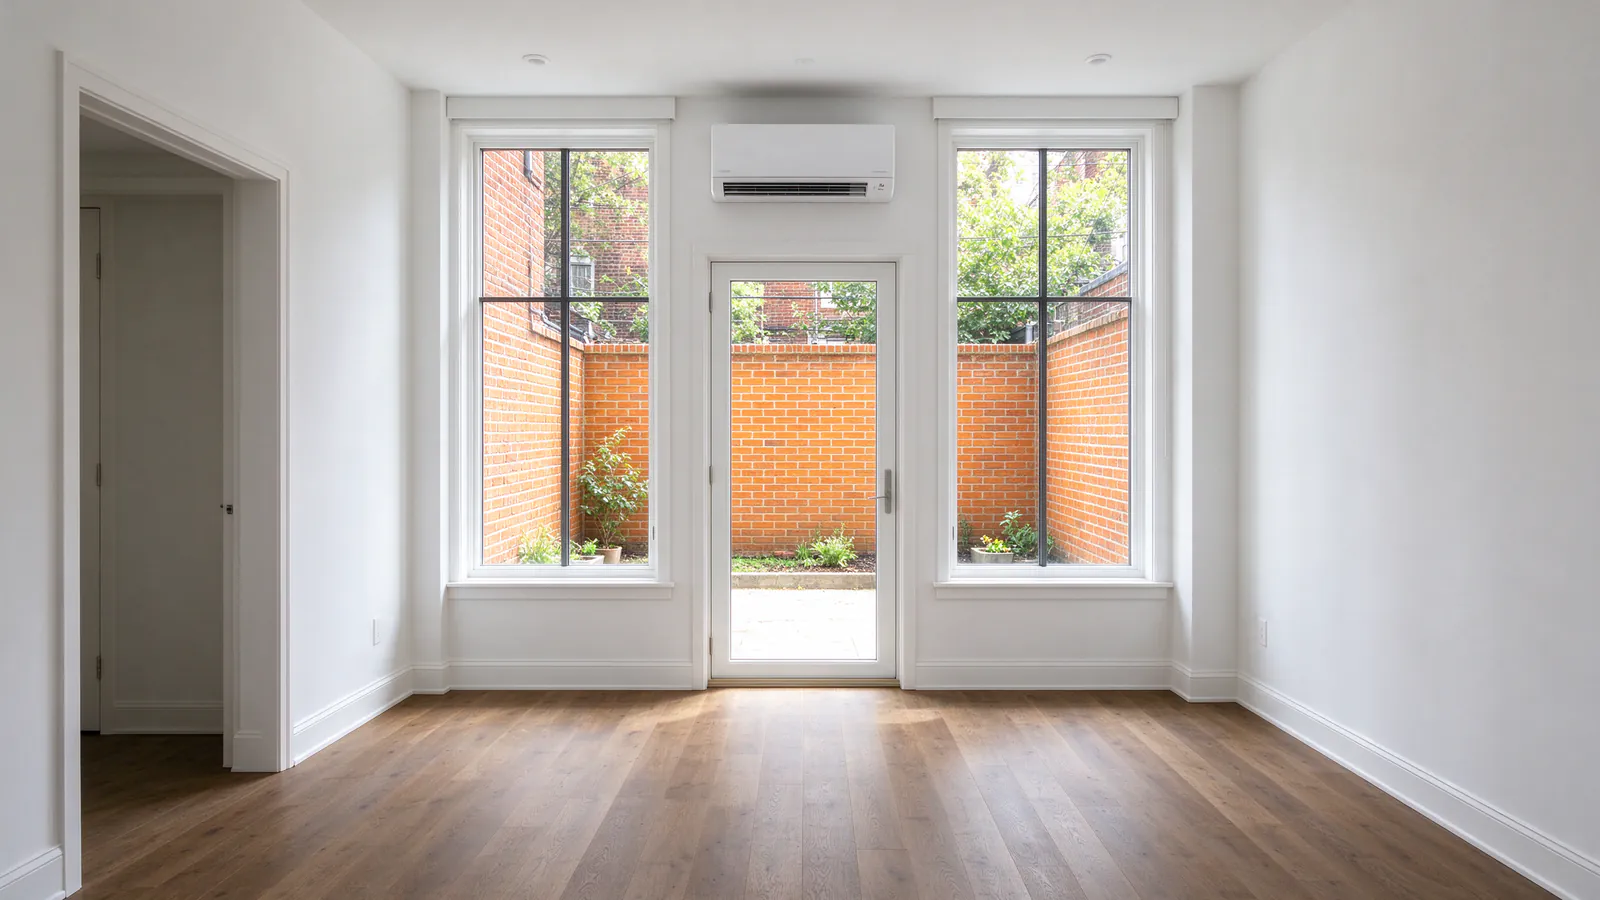
Roomwise DC Mini Splits plans and installs mini splits for DC home additions: the two-story rear addition that replaces an old porch, the glass sunroom off the kitchen, the third-floor pop-up on a rowhouse that never had ducts upstairs.
An addition is new space that the house system was never sized for. A mini split gives it its own heating and cooling without touching the boiler or the furnace. The best results come from planning it while the addition is still drawings or framing.
Why the existing system won’t stretch
Most house systems in DC were sized for the house as it was. Adding a room adds load the furnace, boiler or central air never planned for, and the ducts or pipes rarely reach the new space anyway.
Three cases come up in older DC houses:
- Radiators, no ducts. About a fifth of DC homes heat with a steam or hot-water boiler, and there is no cooling to extend.
- A furnace in the basement. Running a new duct up through finished floors to a rear room is disruptive and the old system may lack capacity.
- Central air already struggling. If the top floor is warm today, adding a room to the same system makes it worse.
A mini split sidesteps all three. Our mini split vs central air guide compares the two approaches at the scale of a whole house.
When we should join the project
The ideal point is before the walls are insulated and closed. The line set, the drain and the control cable then run inside the new framing, out of sight, and leave the house at one planned spot.
How the work lines up with your builder
- Design. We review the drawings, run the heat-load calculation and agree head spots and the outdoor spot.
- Rough-in. With framing up, we run the line set, drain and cable, alongside the electrician and plumber.
- Pressure test. We pressure-test the rough-in lines with nitrogen before insulation and drywall cover them.
- Finishes. Your builder insulates, closes and paints the walls.
- Set and start. We mount the heads, set the outdoor unit, pull a deep vacuum, release refrigerant and start up.
If the addition is already finished, we can still install. The lines then run in a painted cover outside, or through a closet or soffit, and the written plan shows exactly where.
Sizing a sunroom, a rear room and a pop-up
New construction is tighter than the old house, so an addition’s load is often smaller than its size suggests, with one big exception: glass.
We size from the walls, windows and roof in the drawings, using the District’s design days of 21°F and 92°F. The sizing guide explains the calculation.
| Addition type | What drives its load | What we watch for |
|---|---|---|
| Rear addition with a kitchen or family room | Wide glass doors to the yard, cooking heat | Head placement clear of the range hood and cabinets |
| Sunroom | Glass on three sides, often a glass or thin roof | Big swings between sun and cloud; a unit that turns down low |
| Third-floor pop-up | A new roof directly overhead, afternoon sun | Outdoor unit on the roof and how it’s seen from the street |
| Basement dig-out or rear basement extension | Earth-backed walls, damp summer air | Drain path below grade; see basement installs |
A sunroom is where oversizing hurts most. A unit sized for the sunniest hour runs short and loud the rest of the day, so we choose equipment that turns down far enough for cloudy afternoons.
One head, several heads or one more zone
A single open addition usually needs one head. A two-story rear addition with a bedroom above a family room needs a head on each floor, because air from one head won’t climb a stair and turn into a closed room.
Adding the addition to a multi-zone plan
If rooms in the old house are also uncomfortable, a multi-zone system can serve both from one outdoor unit. That saves a second outdoor unit on a small DC lot, but every head then depends on one machine. We lay out both paths in the plan. The single-zone vs multi-zone guide explains the trade.
For an addition with several small rooms, a concealed ducted unit in a soffit or closet can feed them all through short ducts with no head on any wall.
Where the outdoor unit goes on a crowded lot
An addition usually eats the rear yard where an outdoor unit would have gone. We plan its spot with the addition, not after it, so it isn’t squeezed against the neighbor’s fence.
- On the addition’s own roof, for a pop-up or a flat-roofed rear addition, set back from the street
- A bracket on the new rear wall, high enough to clear snow and a patio
- What’s left of the yard, on a pad with clearance for airflow and service
DC limits mechanical equipment noise to 60 dB(A) at the property line, and rear additions bring the unit closer to a neighbor’s windows. In a historic district, roof and rear units need to stay out of street view. The placement guide covers the options.
Permits, review and timing
The addition’s building permit covers the structure. The mini split takes its own DC Department of Buildings mechanical permit, which we file. DC permit records show mini splits filed alongside rear additions, attic finishes and garage conversions.
On a historic property, the Historic Preservation Office reviews the permit too. Its expedited review covers additions up to 250 square feet of footprint, or 500 square feet across two or more levels. The DC permit guide has the steps.
What a mini split for an addition costs
Roomwise’s typical range for a standard single-zone install is $3,000 to $6,000, which fits one head in a single-room addition with a short line run. A roughed-in line set is often shorter and simpler than one retrofitted through finished walls.
Two to four heads across the addition and the old house is a multi-zone job. Roomwise’s typical range for a standard multi-zone install is $5,000 to $14,000. A pop-up with a roof unit in a historic district, or one that needs panel work, moves toward Roomwise’s typical complex single-zone range of $11,000 to $28,500.
What moves the price
- Rough-in during construction or a retrofit after finishes
- Head type: wall, floor console, cassette or concealed ducted
- A roof-mounted outdoor unit and its curb or stand
- Panel space for the new circuit, which a large addition may already use up
- Historic review of a visible rear or roof unit
Your price comes from the plan review or site visit, in a written estimate. The cost guide and the estimator show the drivers in more detail.
Rebates for the addition’s system
DCSEU’s rebate on ENERGY STAR certified ductless heat pumps can apply to an addition’s system where it qualifies, and we can take it as an instant discount on our invoice.
It needs the DOB permit and the equipment paperwork. Amounts and rules change during the program year; the rebates guide has current figures. When you’re ready, send us your plans.